Package Manager
Exon Studio has a package registry that lets you download community plugins and starter templates, and publish your own reusable projects for others to install.
Browsing packages in the editor
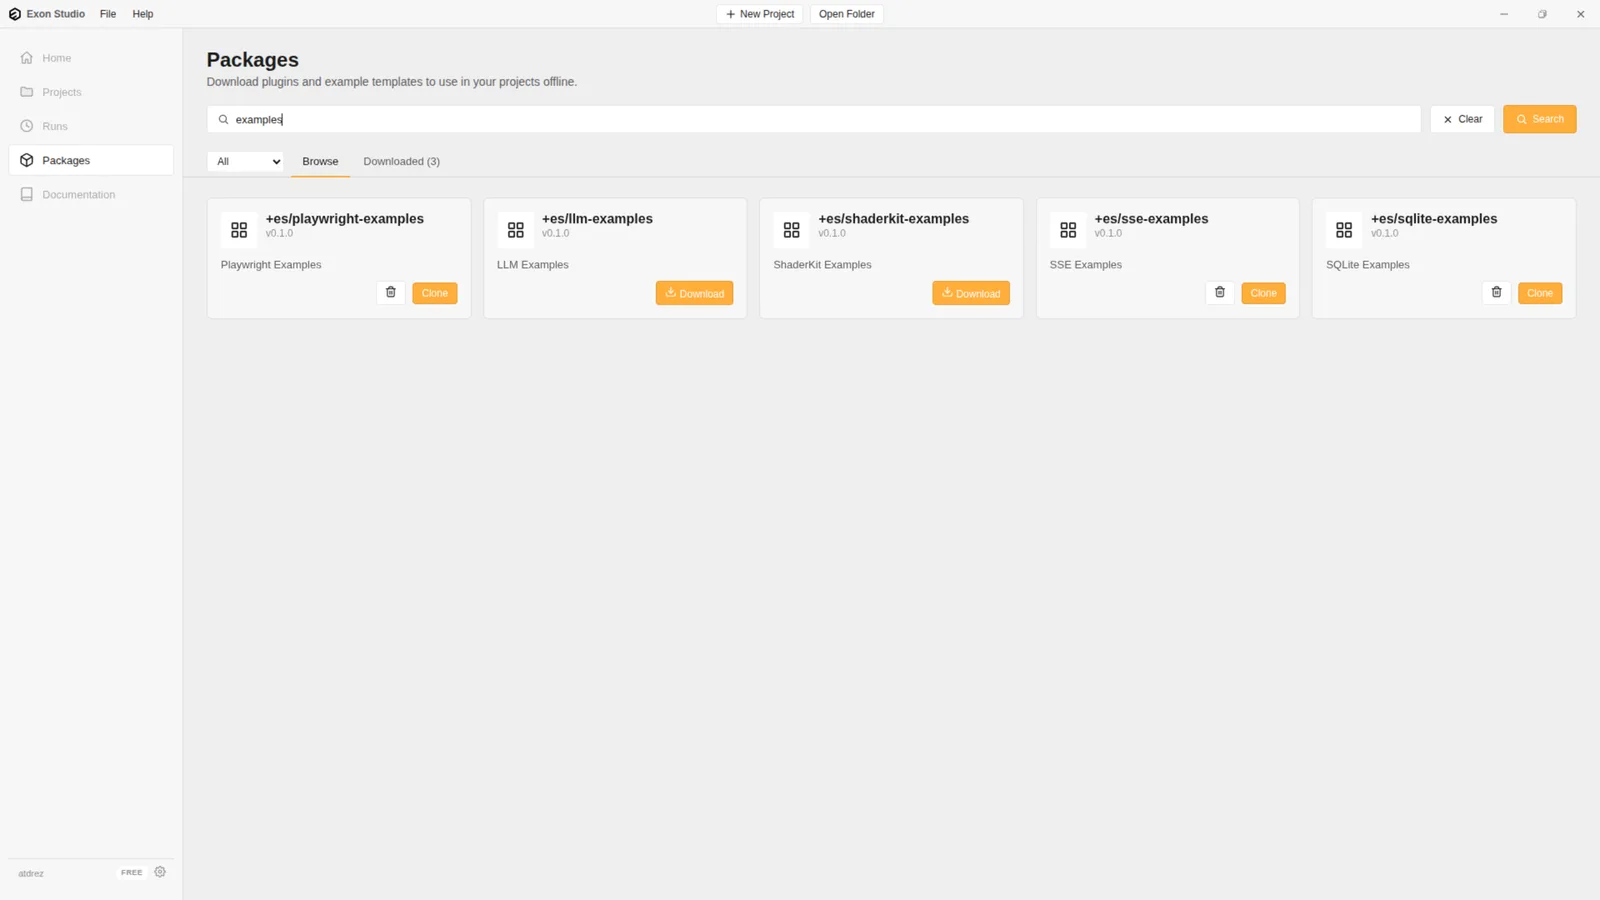
Open the Packages tab from the Home screen's left sidebar to browse the registry. Packages come in two kinds:
- Templates - full example projects you can Clone into a new project folder.
- Plugins - node libraries you Download to make their node types available in your own projects.
The Browse tab searches the registry; Downloaded lists what you already have locally.
The exon-package.json file
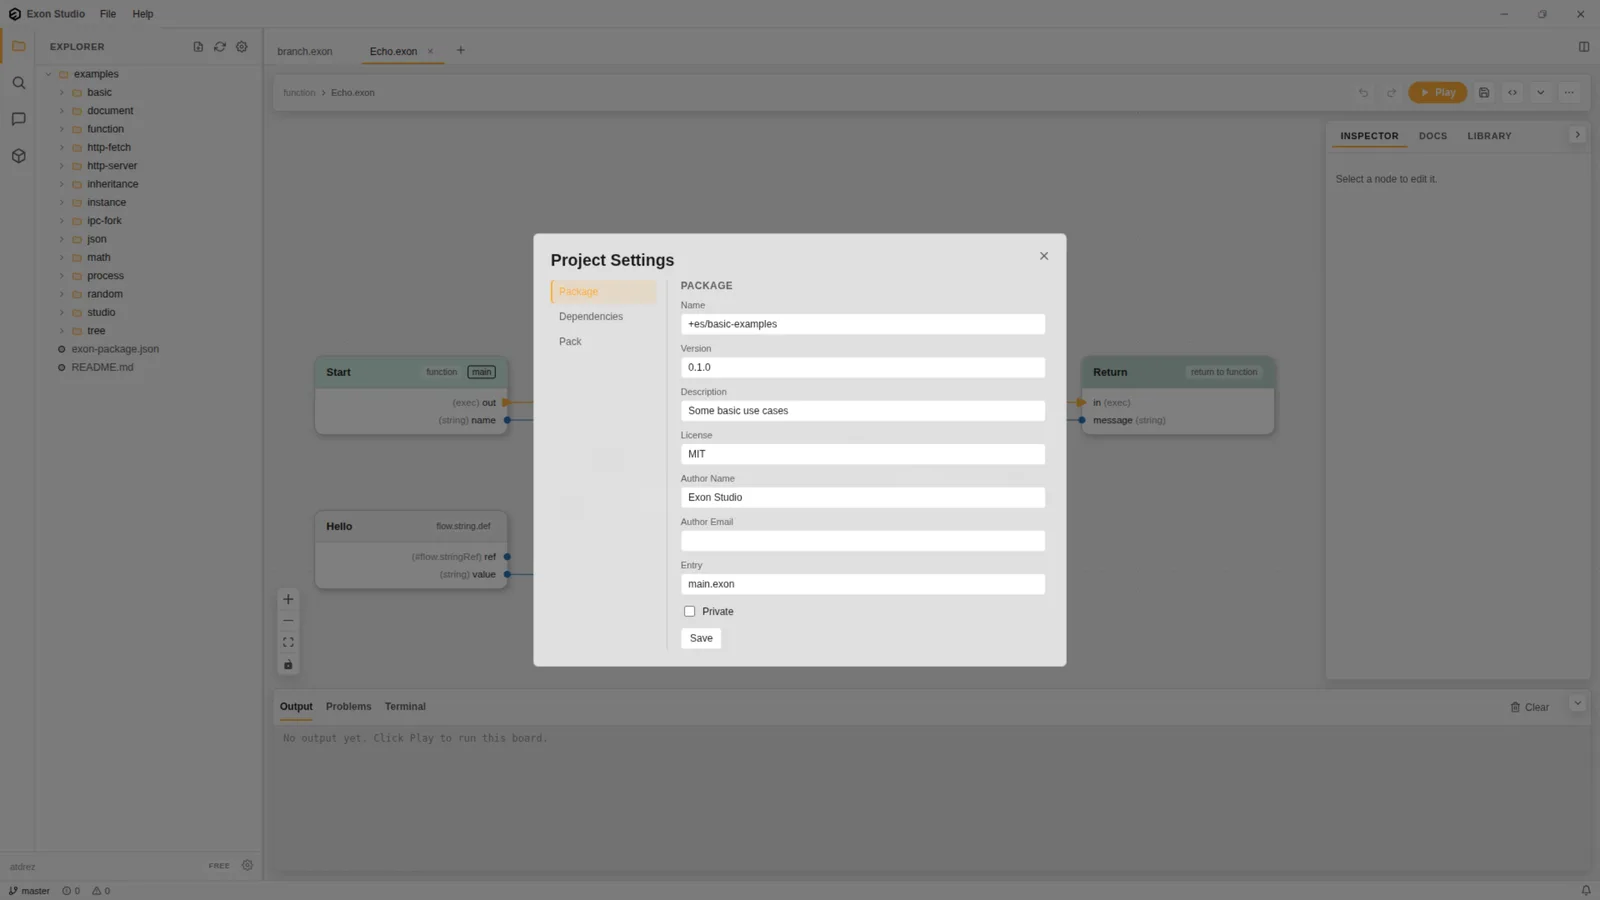
Every project has an exon-package.json file describing it as a package. You can edit its
fields directly, or through Project Settings (the gear icon at the top of the Explorer
panel):
A minimal exon-package.json looks like this:
{
  "name": "+yourscope/your-package",
  "version": "1.0.0",
  "entry": "main.exon"
}
name- the package's scoped name (see "Scopes" below).version- a semantic version (1.0.0,1.1.0,2.0.0, ...).entry- the board file the package resolves to by default when another project depends on it. Defaults tomain.exonwhen omitted.
Other recognized fields include title, description, license, author, category,
homepage, repository, private, dependencies, nodeDependencies, scripts, and
entries (for a package that exposes several named boards instead of a single entry point, as
the standard example packages do).
The command line: expm
Command-line installs and publishing go through expm, the exon package manager CLI (a
separate tool from the editor, installable with npm install -g exon-package-manager):
expm install [dir]
expm uninstall [name]
expm pack [dir] [--compress]
expm publish [dir] [--compress] [--registry <url>]
expm login [--registry <url>]
expm logout [--registry <url>]
expm installreads theexon-package.jsonin the current directory (ordir) and installs every declared dependency from the registry, verifying each download's hash before extracting it.expm publishpacks the project the same way asexpm pack, then uploads and publishes the archive. Bothnameandversionmust be set inexon-package.json, and publishing requires being logged in.expm loginprompts for your Exon Studio account email and password and stores a session in~/.exon/auth.json. In CI, set theEXON_REGISTRY_TOKENenvironment variable instead.
Scopes
Package names are scoped: +scopename/package-name, for example +google/apis. The leading
+ marks the scope. Every account gets a default scope matching its username, and accounts on
a paid plan can register additional scopes from the Scopes tab of the
Dashboard. You can only publish under a scope your account owns.
Versioning
Use semantic versioning. The registry rejects publishing the same name and version twice -
bump the version in exon-package.json before publishing again.
Publishing under a scoped name requires an Indie or Pro subscription; see Pricing for plan details.
Unpublishing
Individual versions can be unpublished from your Dashboard, under the My Packages tab. Unpublishing is a soft delete: the version disappears from search and browse results, but a project that already depends on that exact version can still resolve and install it directly.