Getting Started
Exon Studio is a visual programming editor for building automations, AI agents, and data workflows out of connected nodes. This guide walks you through installing the editor, opening a project, and running your first board.
Installation
Download the installer for your platform from the Download page.
- Windows: Run the
.exeinstaller and follow the prompts. - macOS: Open the
.dmg, drag Exon Studio into your Applications folder, and launch it. - Linux: Make the
.AppImageexecutable (chmod +x ExonStudio.AppImage) and run it.
The Home screen
When Exon Studio launches without a project open, you land on the Home screen. Its sidebar has five sections:
- Home - a search box for jumping to any recently opened project (
Ctrl+K), cards for your most recent projects, and a welcome panel with pointers to get started. - Projects - every project you have opened before.
- Runs - a history of board executions. It stays empty until you press Play on a board from an open project.
- Packages - browse and download community plugins and starter templates (see the Package Manager guide).
- Documentation - a built-in copy of the editor's reference docs.
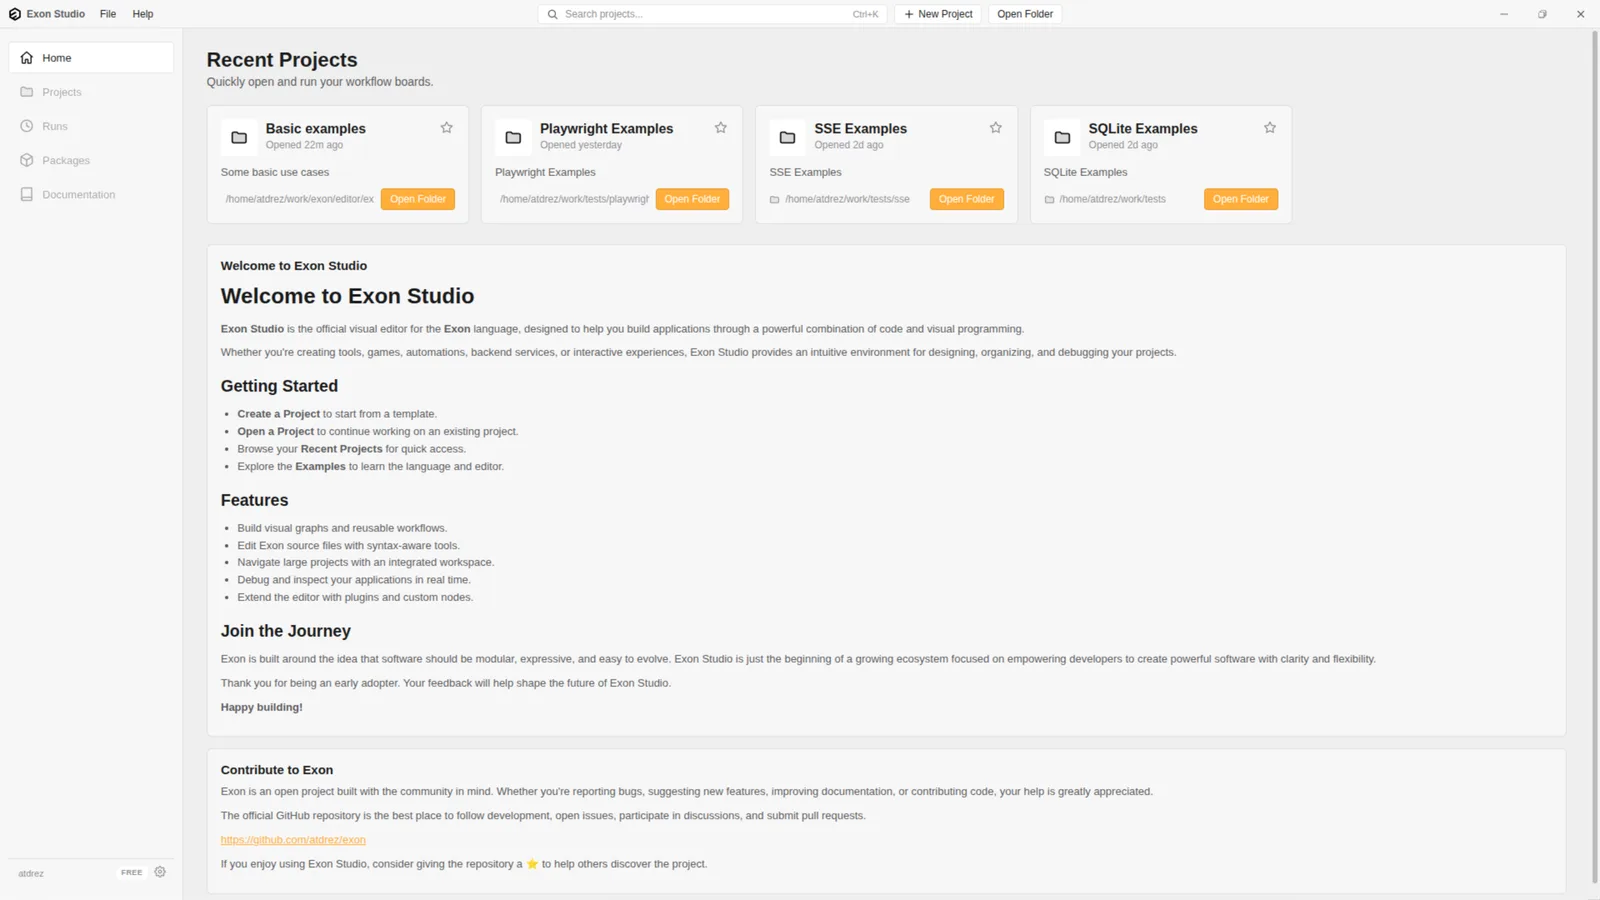
Each recent project card shows its name, description, and folder path, and can be starred as a favorite; the list itself is always ordered by most recently opened.
Two buttons in the top bar create or open a project:
- New Project - scaffolds a new project folder (also available as File > New Project...,
Ctrl+Shift+N/Cmd+Shift+N). - Open Folder - opens an existing project folder from disk (also available as
File > Open Folder...,
Ctrl+O/Cmd+O).
A project is a folder on disk containing one or more .exon board files, plus an
exon-package.json describing the project itself (see Package Manager).
Opening a board
Once a project is open, its files appear in the Explorer panel on the left. Click a .exon
file to open it in a tab; it renders as a graph on the canvas.
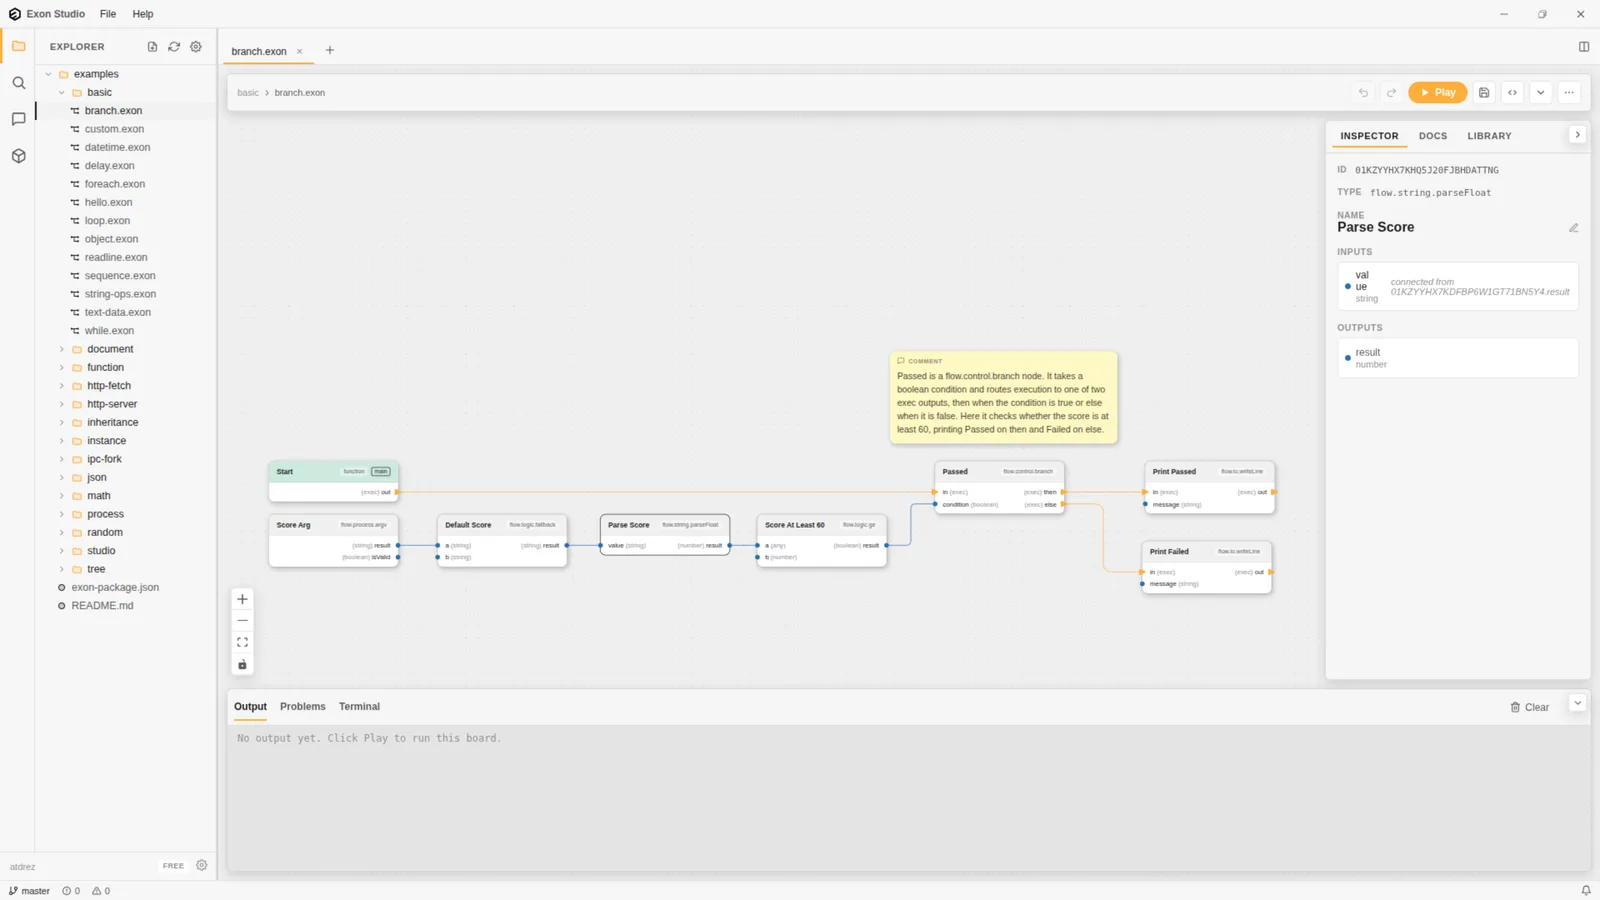
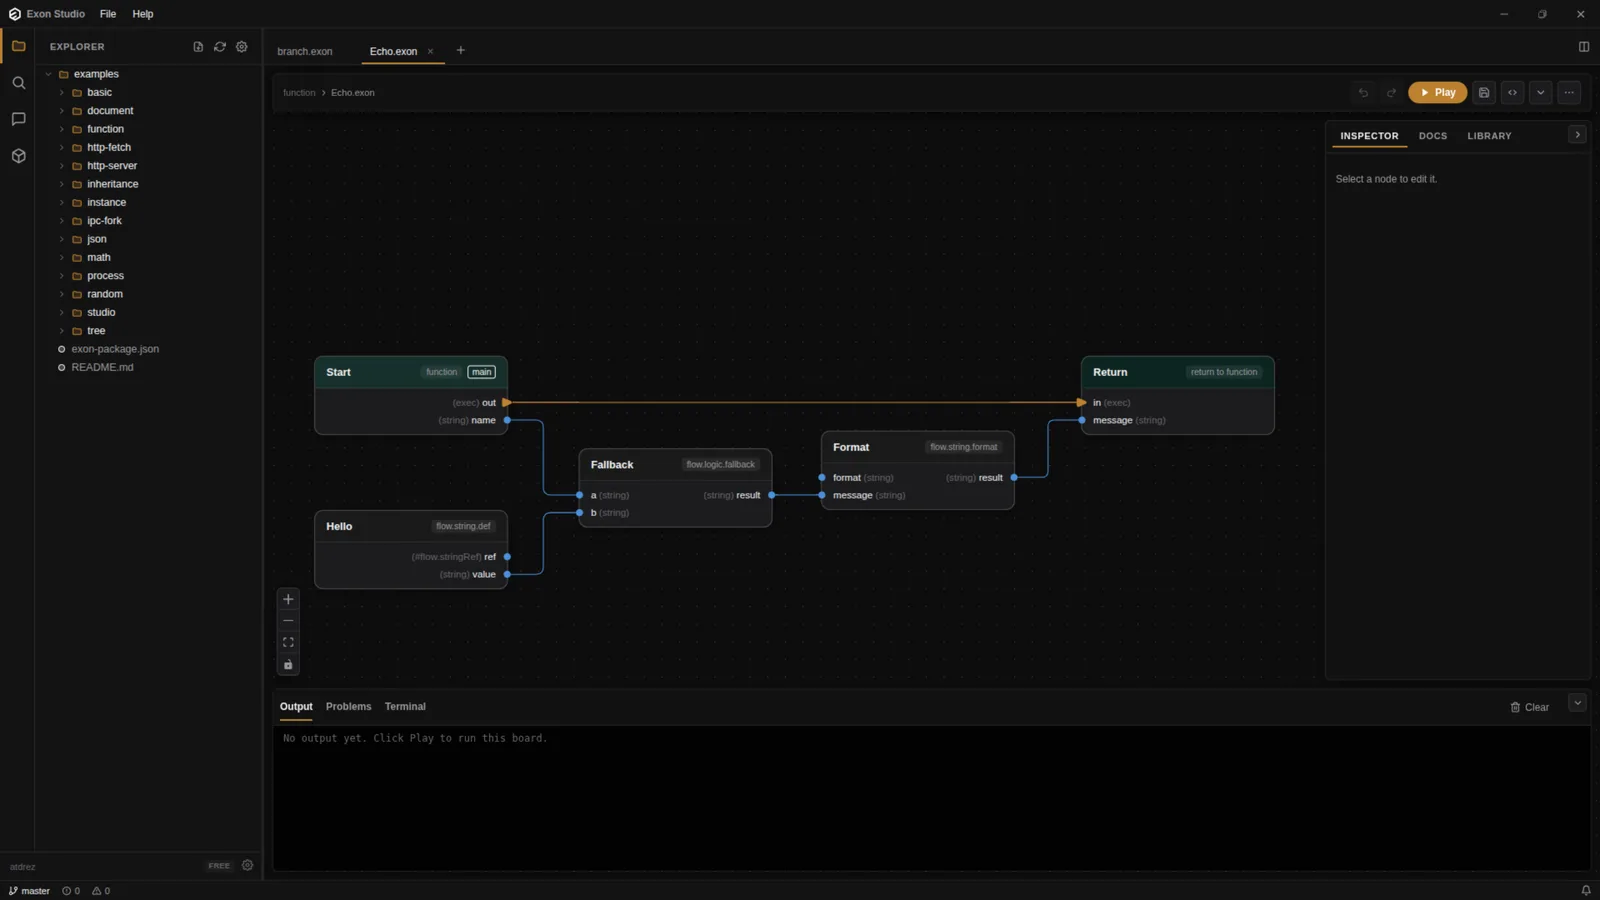
The toolbar above the canvas shows the current file's path, Undo/Redo, a Play button to run the board, a Save button, and a button that toggles between the graph view and a plain-text code view of the same file (see The Node Graph for what that text actually looks like).
Your first node
Right-click an empty area of the canvas to open a search box. Type part of a node's name and click a result to add that node at the position you clicked.
You can also open the Library tab in the right-hand panel to browse every available node type by category, then drag one onto the canvas.
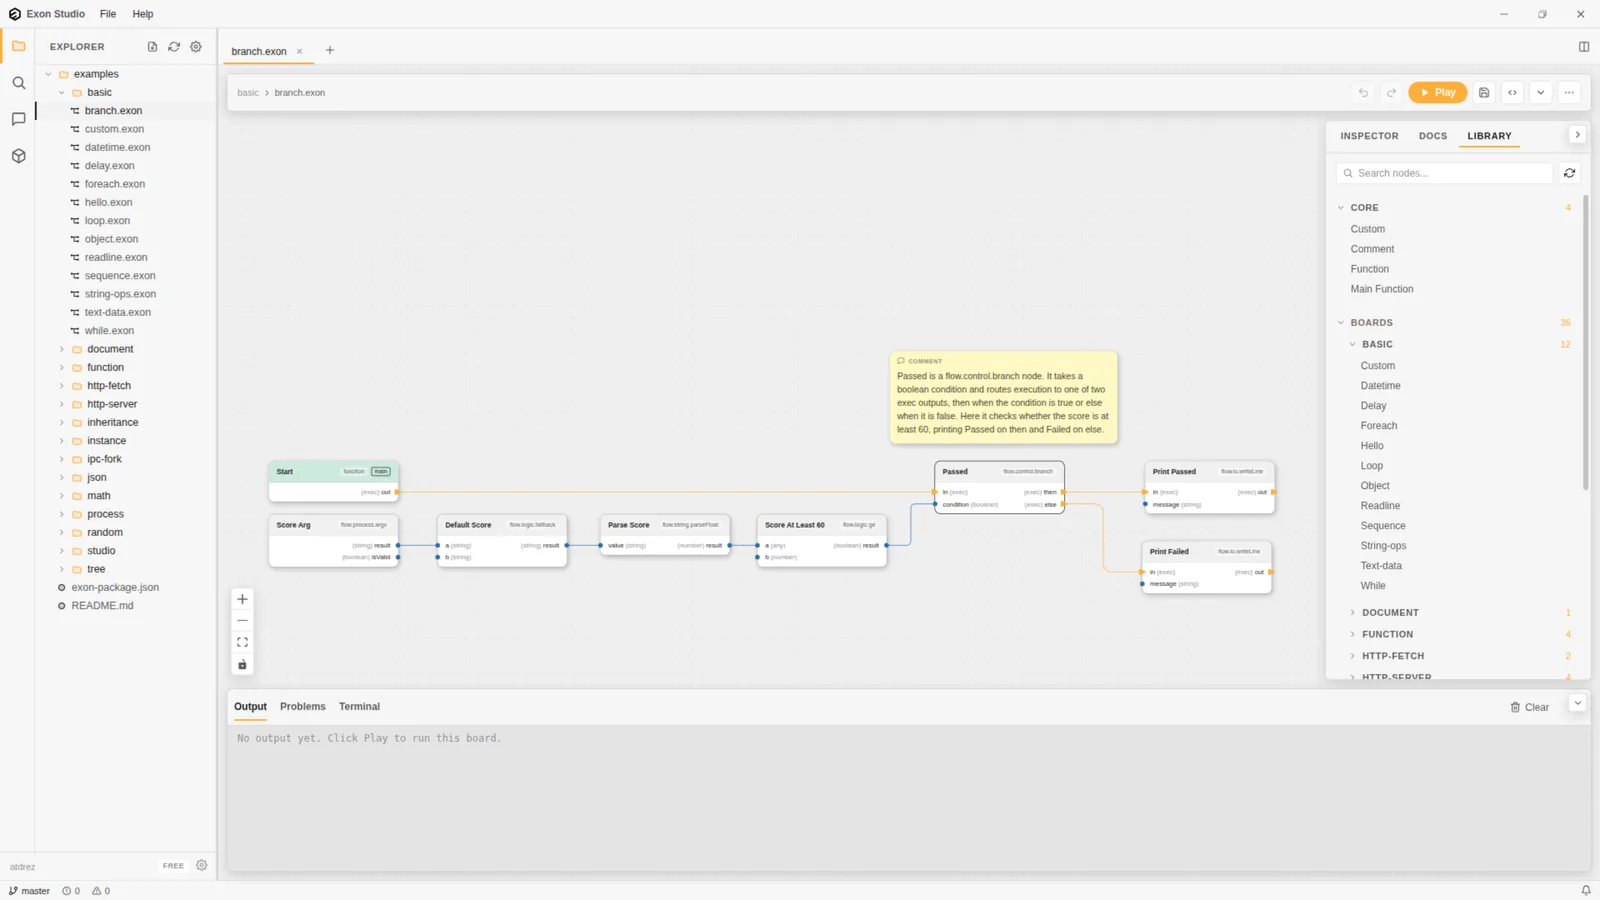
Every node has input pins on its left edge and output pins on its right edge. Drag from an output pin to a compatible input pin on another node to connect them. The Inspector tab in the right-hand panel shows the selected node's id, type, name, and pin values; the Docs tab shows the reference description for that node's type. See The Node Graph for details on both.
Running a board
Click the Play button in the toolbar to run the current board. Output, warnings, and errors appear in the panel below the canvas, under the Output, Problems, and Terminal tabs. There is currently no keyboard shortcut for running a board - use the Play button.
Customizing the editor
The gear icon at the bottom of the left activity bar opens Settings, where the Appearance tab controls the color scheme (Light or Dark) and canvas display options (grid, node type labels, orthogonal connections).
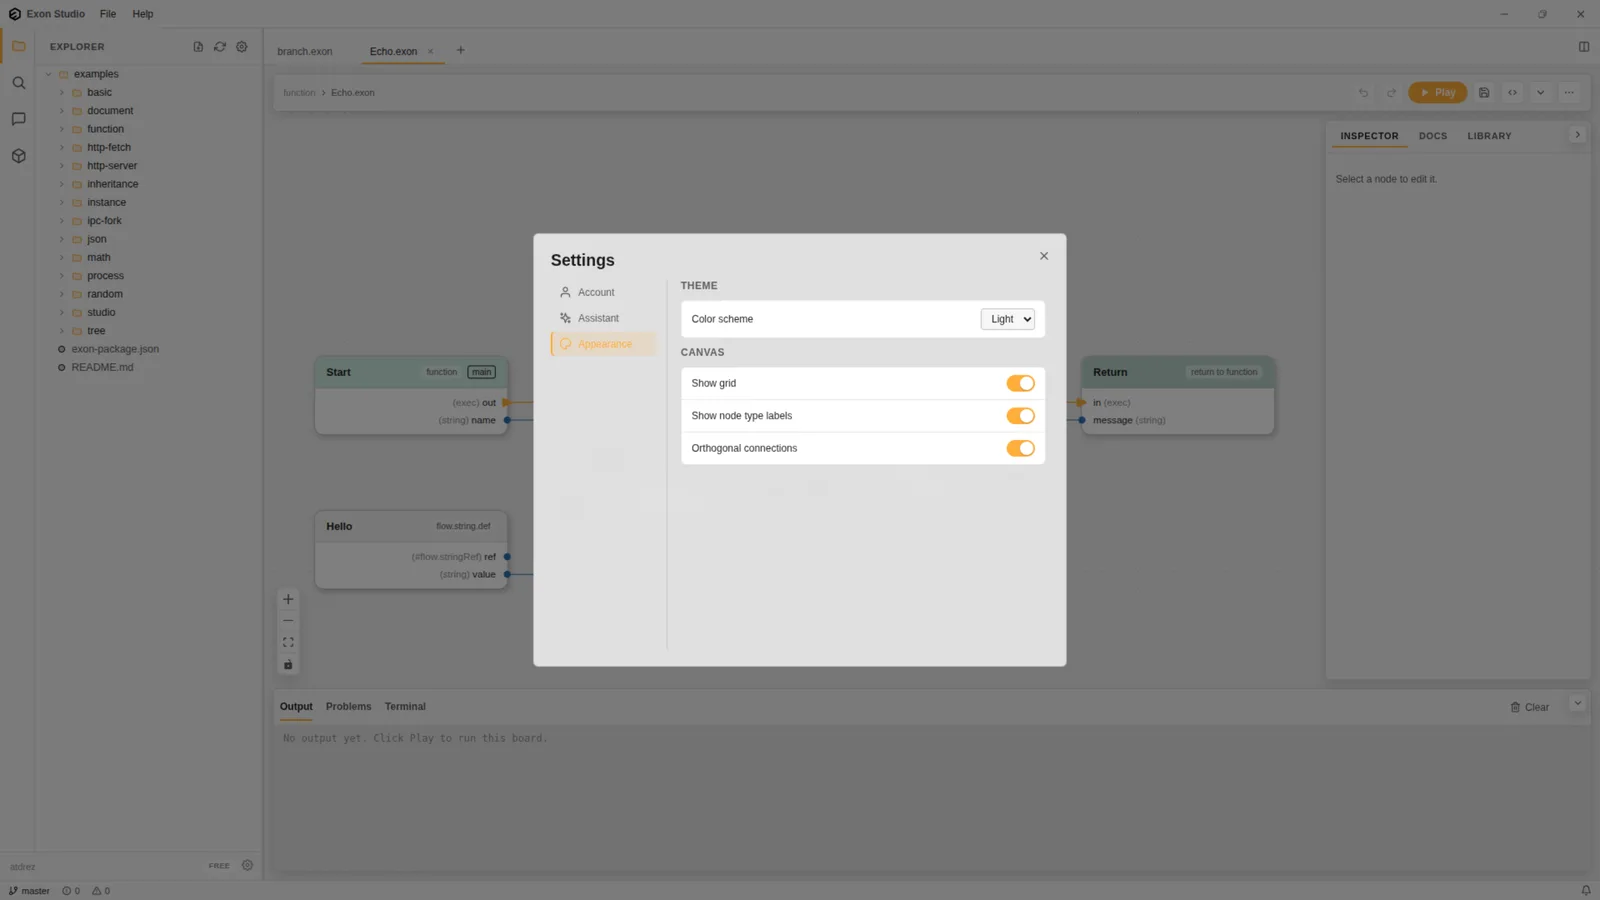
Switching to Dark applies immediately across the whole editor, including the canvas:
Next steps
- The Node Graph - learn how nodes, pins, connections, and the underlying
.exonfile format work in depth. - Package Manager - install community packages and publish your own.